Why should you paint your kitchen cabinets?
With the constant changes in the interior decorating trends, those stained cabinets that were once in style are not so trendy anymore. Painting your stained kitchen cabinets can revive your dated cabinets, and with over 3500 colours to choose from, the possibilities are endless. The initial thought homeowners have when they don’t like their cabinets anymore is to have them replaced. This option is ideal if the kitchen cupboards are in rough shape or if the current layout of the kitchen doesn’t fit your lifestyle anymore. However, if there’s little to no damage and the kitchen is still functional, there is another alternative. Painting your kitchen cabinets can be a smart, cost-effective alternative that many people are not aware of. With the latest advancements in technology within the paint industry, manufacturers have developed a line of hybrid paints that can be used on cabinets and furniture. With low volatile organic compounds (VOCs) and low odour, these products are durable and can safely be applied inside an occupied residential home.Cost to paint kitchen cabinets
Professionally painting your kitchen cabinets can be a cost-effective way to get a brand new kitchen look. While a custom new set of kitchen cabinets can cost around $15,000 for an average-size kitchen, having them painted will typically cost around 25% of the price of a new kitchen. Not to mention saving yourself the hassle of living in a construction zone for a few months and having to eat out all the time. Our price to paint an average size set of kitchen cabinets starts at $3500+GST. Factors that can influence the price of refinishing kitchen cabinets:– Number of Doors and Drawers
– Type of wood
– Size of the doors
– Kitchen Islands
– Glass doors
– Wine Racks
– Crown moulding
– Open Shelves
– Raised side panels
– Corbels
– Filling old hardware holes and drilling new ones.
Affordable Kitchen Cabinets Refinishing in Edmonton
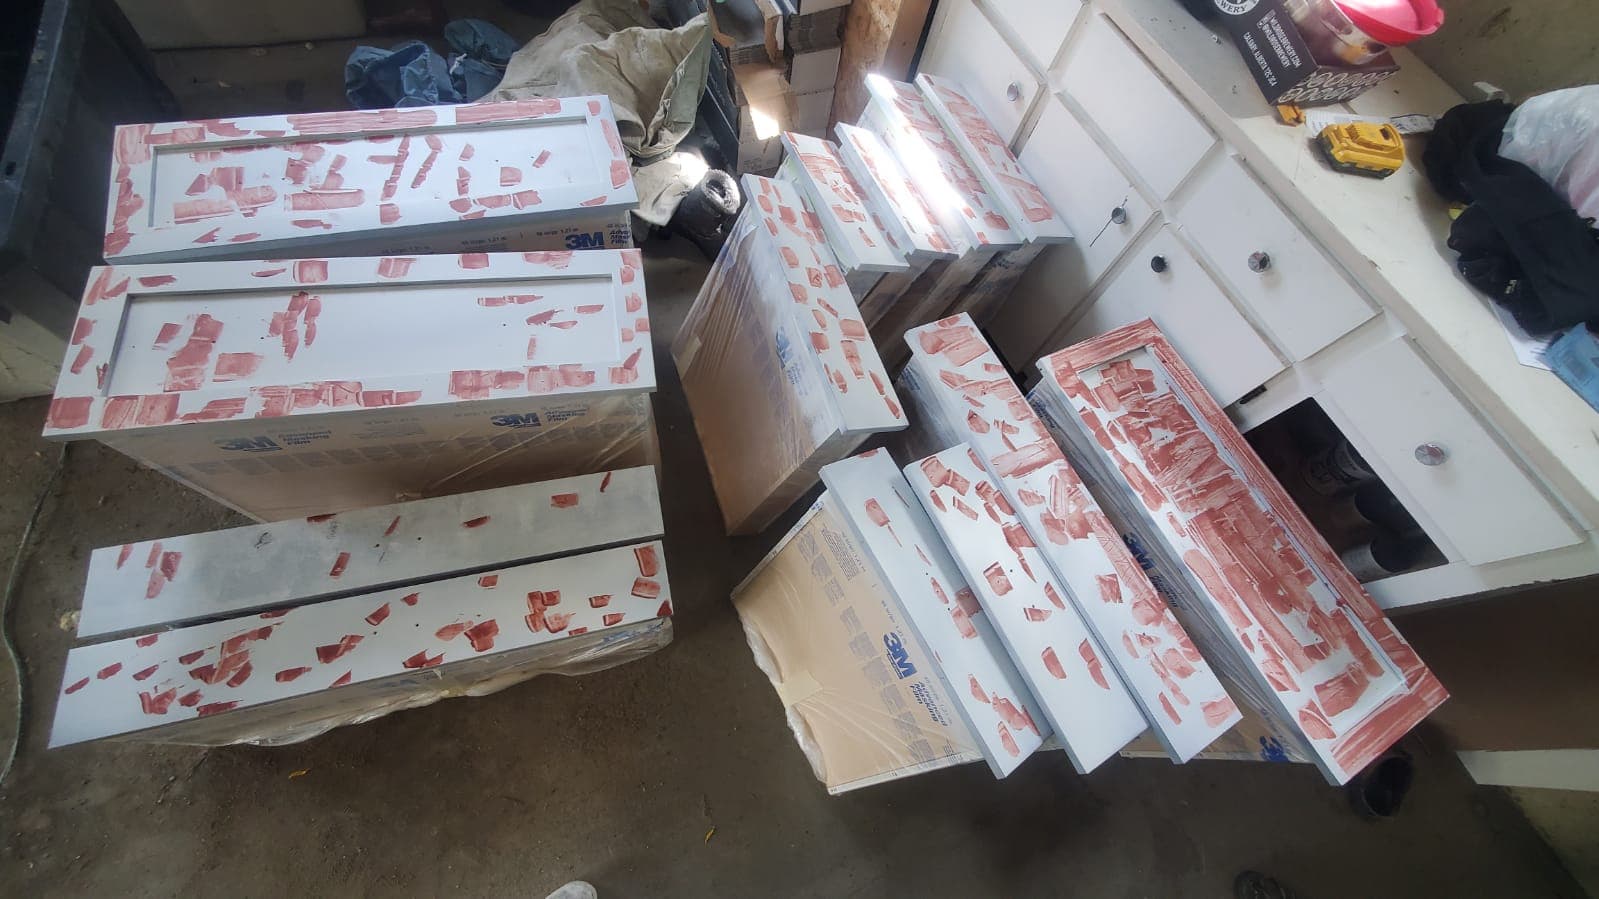
Will the paint last?There are a lot of painting contractors out there that claim they can paint cabinets. The fact is that the majority don’t have the knowledge, patience or the skills to paint them properly. When the job is done right, and all the necessary steps are followed, painted cabinets can last a very long time. We spray-paint the doors and drawers in our portable spray booth that we install in costumer garage. Size of the booth is 13’X 8’. For the cabinet frames and sides that remain in the house, we offer the option to either get a brush and roll with 6 mm fine-finish or have them spray painted for a factory finish look. The product we use for the topcoat is both strong and durable and will stand up to everyday wear and tear.

How long will it take to paint my cabinets?
The process of painting kitchen cabinets is meticulous and time-consuming. We complete an average kitchen in about 2 to 3 business days. It takes up to 30 days for the paint to fully cure and achieve its proprieties, and during this period you will have to be extra careful around the cabinets.
Warranty
We offer 2 years warranty on all our painted cabinets.
Painting Kitchen Cabinets Step by Step
Painting kitchen cabinets is a meticulous process, and it requires a lot of patience, knowledge and skill. From removing and labelling all the doors, drawers and hardware, cleaning, caulking, gluing, patching, sanding, and finalizing the process with a fine-finish spray painting technique, it is not a job for the faint of heart.
1. Cleaning
With all the cooking taking place around your cabinets, a lot of grease, food residue and oils from your hands can be found on the doors, drawers and the frames. The primer will only adhere to a clean surface free from any of the above elements. We use a strong degreaser called TSP and scrub all cabinets with 3MM Scouring Pads. This process also scuffs the surface. We rinse everything with clean water and dry all the surfaces with microfiber cloths.

2.Priming
There are a lot of different primers for different applications and using the right kind of primer is essential. Some woods like pine, cedar, and oak might have knots and tannins that can bleed through the primer and the topcoat, leaving a yellowish- brown stain on the surface. The best way to make the bleeding stop and never comes back is to use shellac or oil base stain-blocking primers. Our go-to primer is BIN Shellac and this primer has 3 advantages compared to another primer: 1. Stain blocking ability, 2. Extreme bonding, 3. Drying time (Shellac will dry within 30 min allowing to apply finish coat same day)

3. Caulking
When painting stained kitchen cabinets to a solid color (especially white), all the open seams are going to stand out like an eyesore. After we prime, we use a high-quality paintable caulk to fill in all the gaps in the frames, crown moldings, and the sides of the cabinets where it meets the walls. We do not caulk the seams in the doors or drawers as most of them are built with center panels that are designed to float in the stiles and rails. The center panels can shrink and swell with extreme changes in temperature or humidity and can cause the caulking to crack.

4. Patching after primer
Once everything is primed, we shine a bright light onto the cabinets and look for any holes, cracks and any imperfections. We glue any joints that are loose and use a strong compound mixture like Bondo to fill all the flaws. We repeat this process after finish coat to make sure we didn’t miss anything.

5. Sand, clean and apply the first layer of topcoat
Once the primer is dry, we buff sand all the surfaces with fine foam abrasive pads and clean all the remaining dust. We use airless sprayers for painting cabinets and the finished product is very similar to a factory finish look. When refinishing kitchen cabinets using a good, durable paint that cures to a hard finish is a must. Solvent-based paints and lacquers are some of the toughest products out there. Unfortunately, they’re not the ideal choice for occupied homes due to the high content of VOCs they contain, and not to mention the high risk of producing an explosion

6. Sand, clean, and apply the last layer of topcoat.
We repeat the entire buff sanding process with a very fine foam abrasive pad, clean the remaining dust and apply the final coat of paint

7. Resembling
After the finish is dry enough we reinstall all the hardware to the original location, hang the doors back to their initial position and do the final touch-ups. All the remaining paint remains at the house for touch- ups. If you’re planning to take this project in your own hands, arm yourself with a lot of patience and be prepared to spend anywhere from a couple of weeks to a few months doing it. On the plus side, it is the most cost-effective method to paint your cabinets and you will only spend a couple of hundred dollars on materials and paint. If you’re considering hiring a painting company to have your kitchen cabinets professionally painted, ensure you do thorough research and hire a reputable company. It will cost you less money to do it right the first time than having to do it over.

